How to create a prototype board game
So you have your idea and theme for a new board game, you might be tempted to start designing the graphics for the board, cards and components. However before you hire a designer or spend hours creating the items yourself, it’s best to create a simple prototype of your game so that you can play it lots and iron out any kinks first.
This will allow you to quickly make revisions to rules, cards, board layout and many others things. Then play the game multiple times to confirm that the changes helped. You can also make notes during each play session about what to tweak and change next time.
Paper Prototypes
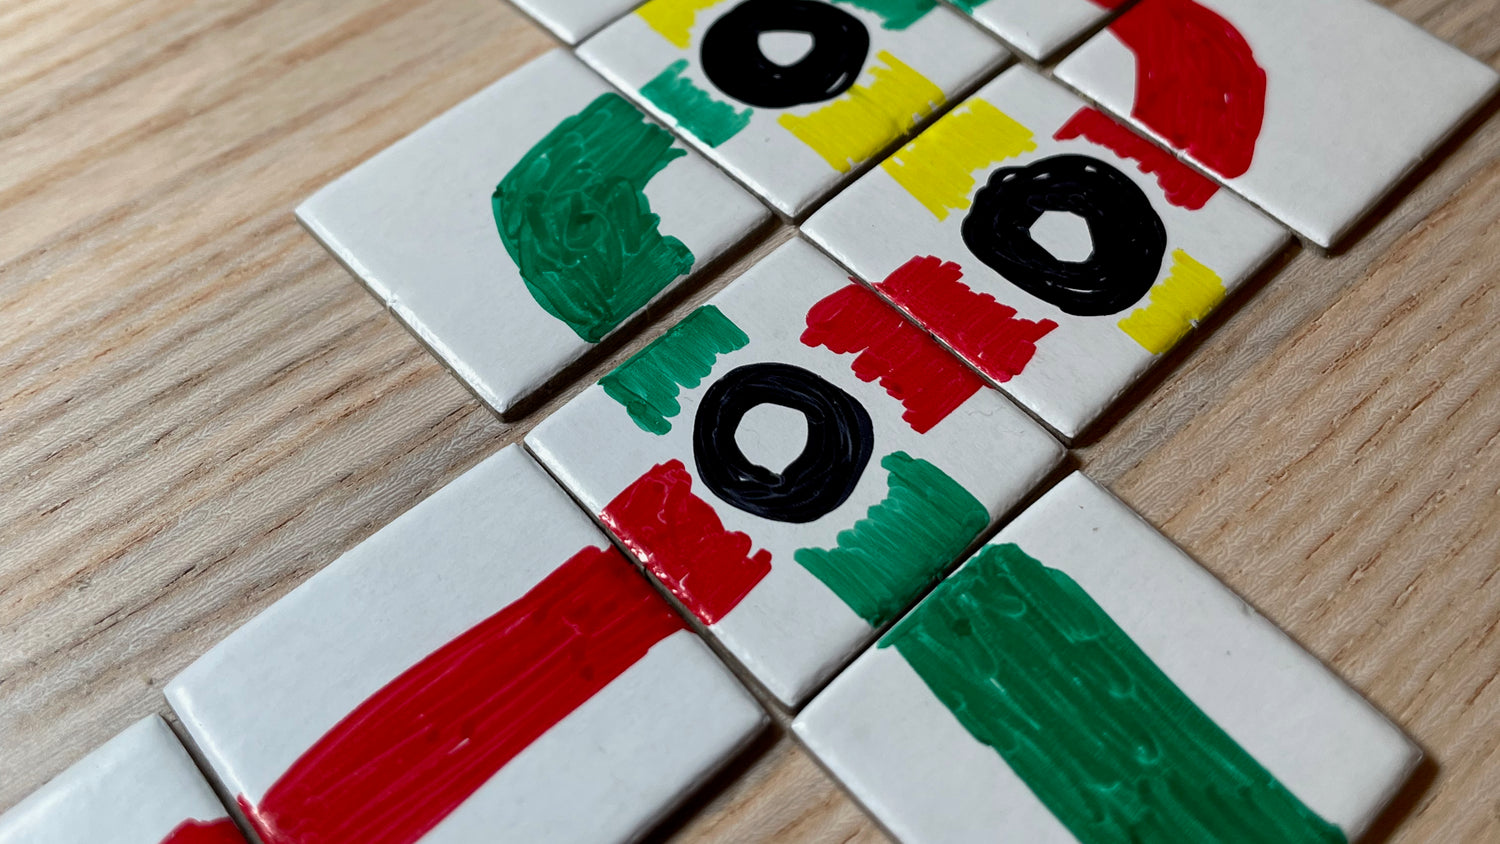
The easiest way to start is heading to an art supplies or stationery store to get hold of paper, card, pens and other easily obtainable supplies. Hand drawing and writing, cards and board items, either with simple design ideas or just words such as “scary monster” instead of needing to draw one.
Board designs
You can map out board designs easily on graph or grid paper, even hex board layouts with the help of isometric grid paper. You can later get these photocopied to larger paper at a copy shop, if you decide you need more space to play, or by hand on large A3 (or bigger) artist pads, even just tape together many sheets.
Dry erase whiteboards laid on a table can also work although can get messy unless you can lay a piece of acrylic over the top. You could also go high tech, if you have a fancy gaming table with a TV in the table, or overhead projector.
Card designs
Packs of index or flash cards from a stationery shop can be a good starting point, or simply packs of blank playing cards. Then grab some sharpies and get drawing cards. During your play testing you might find you need more/less of certain cards types so having some spare blank cards arounds, means you can quickly design some more.
You can also use cards to create reminders for setup, scoring or rules or what happens on each turn. Even use many to have dynamic rules that change through the game like in Fluxx and other games.
Dice choices
Most games will want something to add some random chance to keep things fresh with each play through, whether it’s to decide what resources you get, movement or damage dealt. The trusty six sided D6 die is the most common choice and can be found in most family board games, don’t forget there are plenty of other number sided die if you want to change the odds without simply adding multiple D6 dice to the game. You could take some inspiration from how DnD uses dice.
Dice don’t have to be just numbers, you can always put stickers over the faces or grab some blank dice and write on custom symbols or change number of digits per die, such as 0, 1, 2 only on a D6. Just bear in mind that when you get to production custom printed or moulding dice will cost more than standard ones.
Game pieces
Early on these don’t have to be nice custom cut or moulded pieces, they could just be beads or coins, maybe with stickers on them where you can write a custom value or write a letter to stand for a resource type. You can also pillage your games collection to use pieces while you play test. Of course you can buy packs of several standard shapes, colours and sizes from our great selection of components ;-)
Using generic pieces like cubes or discs during prototyping means that should you decide that a given shape doesn’t make sense for your theme, you can always change that. Then once you are happy design your custom pieces.
Printed prototypes
Once you have played the game through several times with different groups of people, you might want to take your game to a meet-up or board game convention or cafe, so that more people can play it and get feedback from theme.
At that stage you might want multiple copies/sets of your game, which is where printing your game cards or boards might be more practical than by hand. However remember even at this stage the artwork doesn’t have to be perfect and they could simply be printed on a home printer with some heavier paper or light card. You can always sleeve the cards to make them a bit more durable.
You can also look to how print and play games are designed for ways to optimise for printing at home.
Iteration and feedback
Remember to play the game lots with diverse groups of people to collect many different opinions and input. However don’t be worried if not everyone loves your game, we all have games that simply aren’t our cup of tea.
Once you have the game at a point where playing it is fun and you feel the balance of the game is right, time to start designing those pieces, boards and cards. Also don’t forget the rule book and instructions, these should also form part of your testing as they can be hard to get right first time, remember you know how to play your game but others won’t yet, testing the rule book with players is important too.
Don’t worry too much if once you finalise your game you don’t feel it’s perfect, if people are enjoying the game in its current state that’s what matters. You can always continue iterating, either with expansions, sequels or even just new editions of your game.
So time to get prototyping and playing.
Written by: Stephen Keable

